In the app: folder (media manager) RAW recording
The RAW player plays RAW ZIP and .mcpro recordings on the phone, with sound. Tap a RAW recording in the media manager to open it. The player needs Android 9 or later and a 64-bit phone with OpenGL ES 3.1. On other phones the tap opens the recording in another app.
The screen
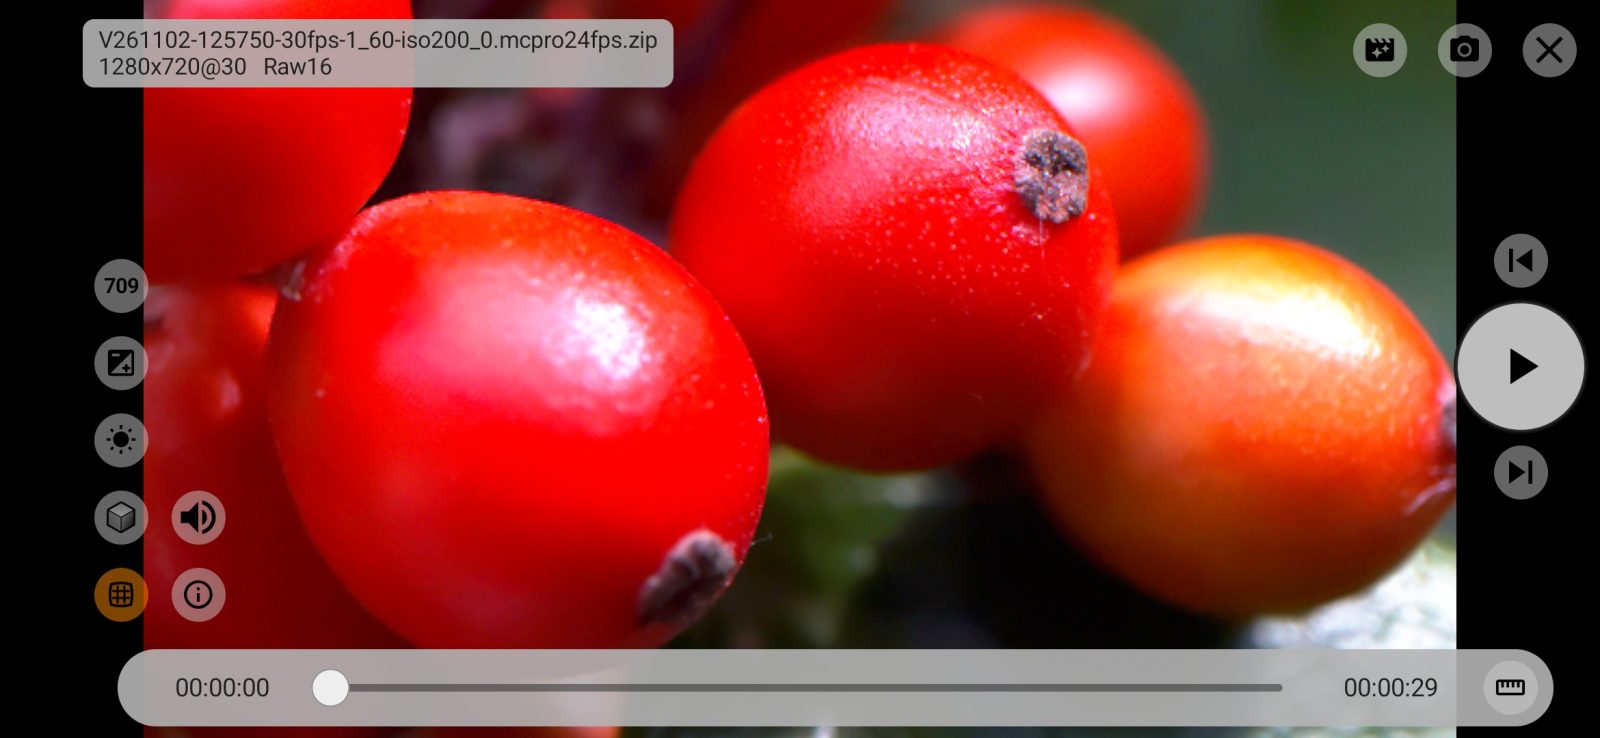
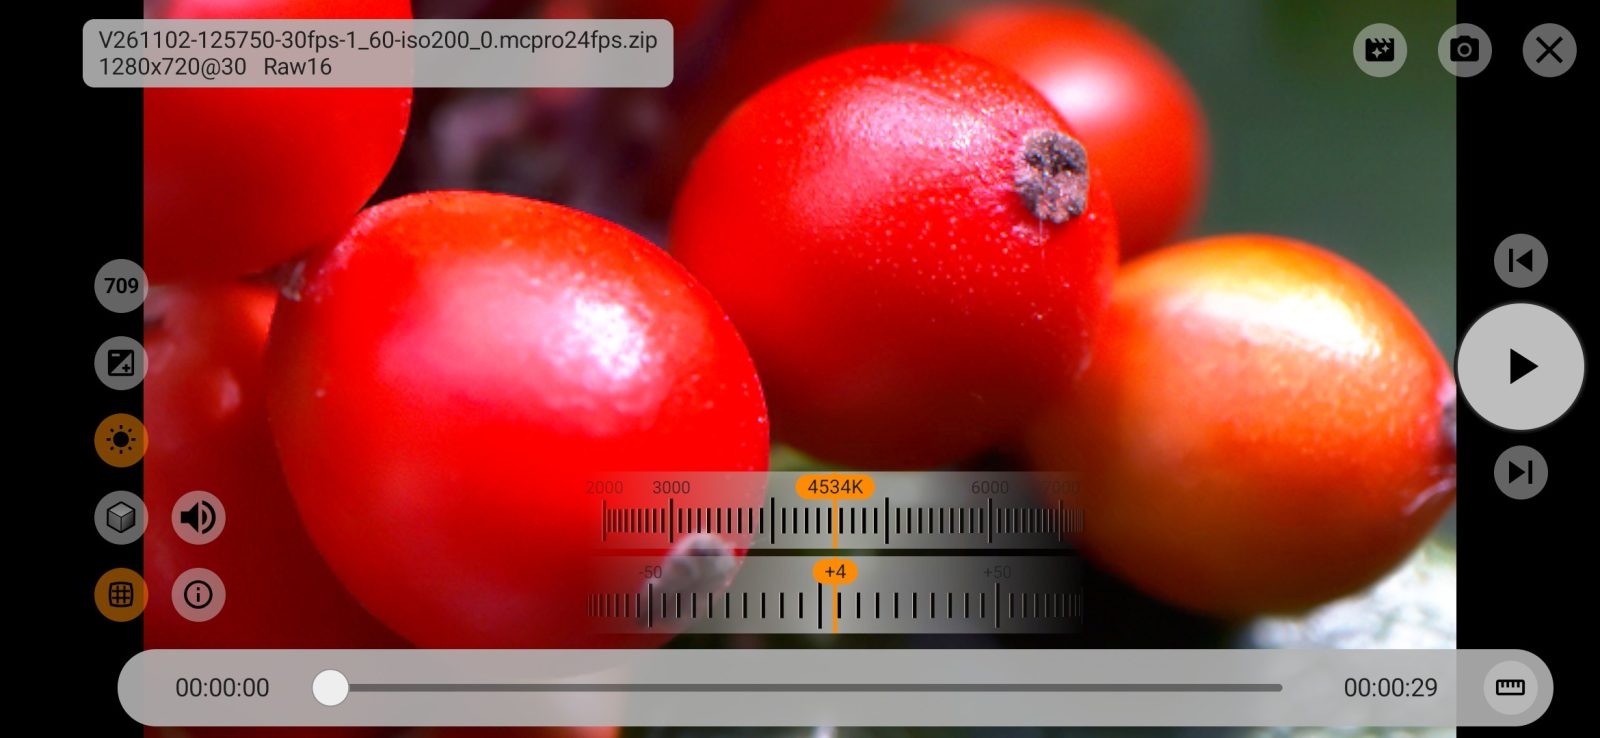
The picture fills the screen. The top left shows the file name, frame size, frame rate and RAW type. At the top right are Convert, Save frame as DNG and close. Along the side (above the timeline in portrait) is a column of buttons: the image buttons first, then Sound and Statistics. On the right, in the middle, are Previous frame, Play and Next frame. The timeline is at the bottom.
During playback the buttons fade after 3 seconds without a touch, leaving a thin progress line at the bottom edge. Tap the picture to show or hide them. They stay on screen while paused and while a wheel is open.
Buttons that don't apply to this screen or recording are hidden: Output profile on a screen without HDR, White balance when the DNG has no color matrices, Lens distortion correction when the recording has no lens distortion data. If the buttons don't fit in one row, they move to a second one.
Top right
1Convert
Opens the converter panel. The player stays underneath, and everything you set up with the image buttons goes into the conversion.
2Save frame as DNG
Saves the frame on screen as a separate DNG file. The file comes from the recording as it is, without the player's exposure, white balance or LUT: it is the original frame for a RAW editor. A frame from a RAW ZIP recording is saved exactly as it is stored in the archive; a frame from .mcpro is rebuilt as a DNG. A damaged frame is not saved.
The file is named <recording name>_<frame number>.dng and goes into the same folder as snapshots: DCIM/<app folder>, with a date subfolder if Add date to filepath is on in the storage settings.
Buttons on the left
The image buttons (Output profile, Exposure, White balance, LUT, Lens distortion correction) work on the picture. The player develops every DNG frame on the fly, and these buttons change only what you see on screen and what goes into the converter. The recording itself is not changed. A button that is on turns orange. Next to them are Sound and Statistics.
3Output profile
How the picture is sent to the screen: Rec709, HLG or HDR10. Each tap moves to the next one, and only profiles the screen supports are offered. On a screen without HDR the button is not there and the picture is always Rec709. The button shows the current profile.
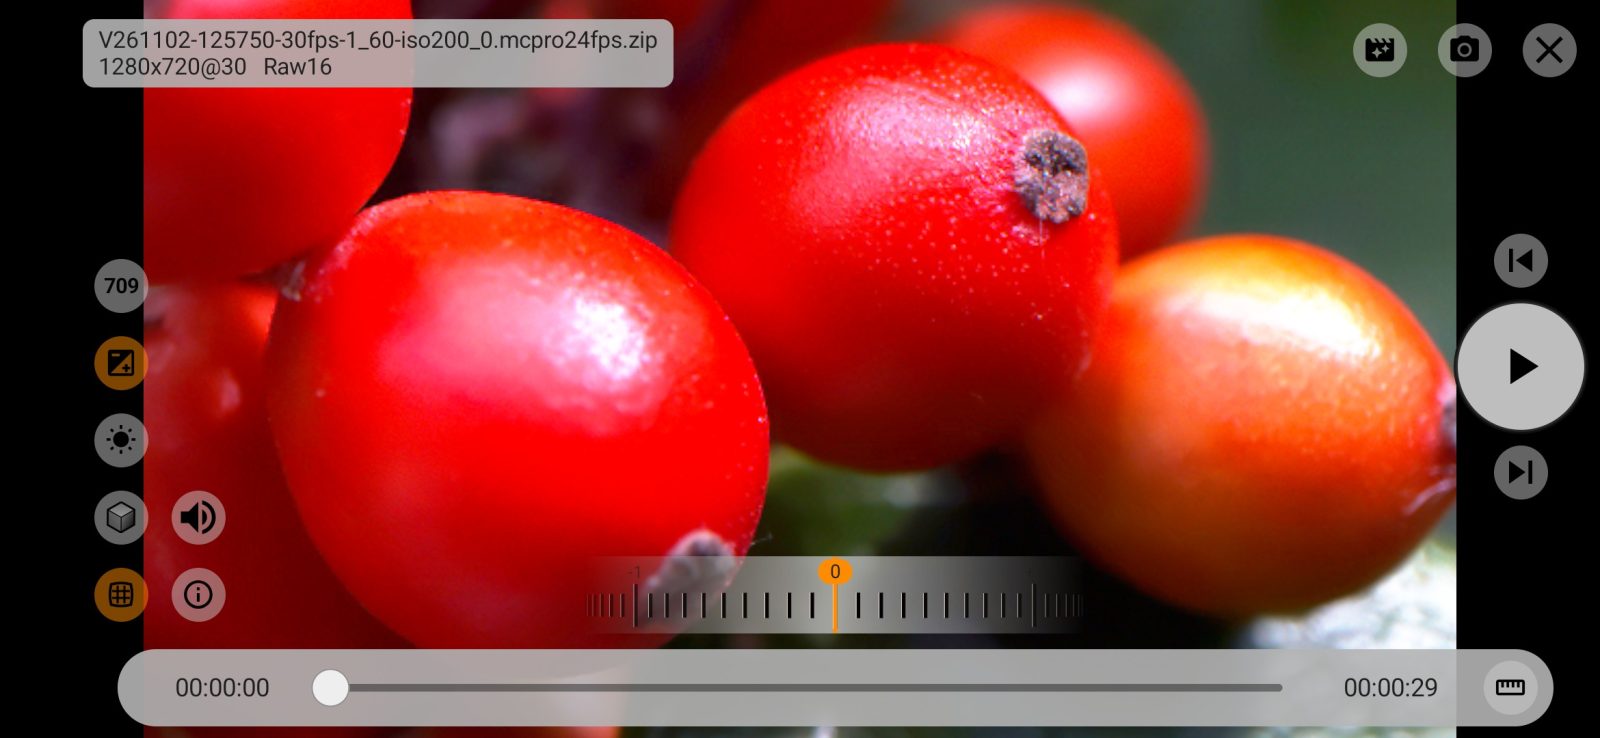
14Exposure
Opens an exposure wheel above the timeline: −4 to +4 stops in steps of 0.01. Double-tap the wheel to return to 0. When exposure is not 0, the value is shown on the button.
15White balance
Opens two wheels: color temperature from 2000 to 15000 K in steps of 50 K, and tint from −150 to +150 below it. They start at the white balance the clip was shot with. Double-tap either wheel to go back to "as shot". White balance is not remembered: every recording opens with the balance it was shot with.
Only one wheel is open above the timeline at a time: exposure, white balance or frames. Back closes the open wheel. The player remembers which wheel was open and opens it again next time.
6LUT
Applies a LUT in .cube format. The first tap opens a file picker; after that a tap turns the LUT on and off, and holding the button picks another file. Files over 64 MB are not read. If the file was moved or deleted, the player shows the picture without a LUT.
7Sound
Turns the sound on and off. If the recording was shot in slow motion or speed-up and the sound was not adjusted to it, the player plays without sound and says so.
8Lens distortion correction
Corrects lens distortion using the data the camera wrote into the DNG. On by default.
Profile, exposure, LUT and distortion correction are remembered and apply the next time you open any recording.
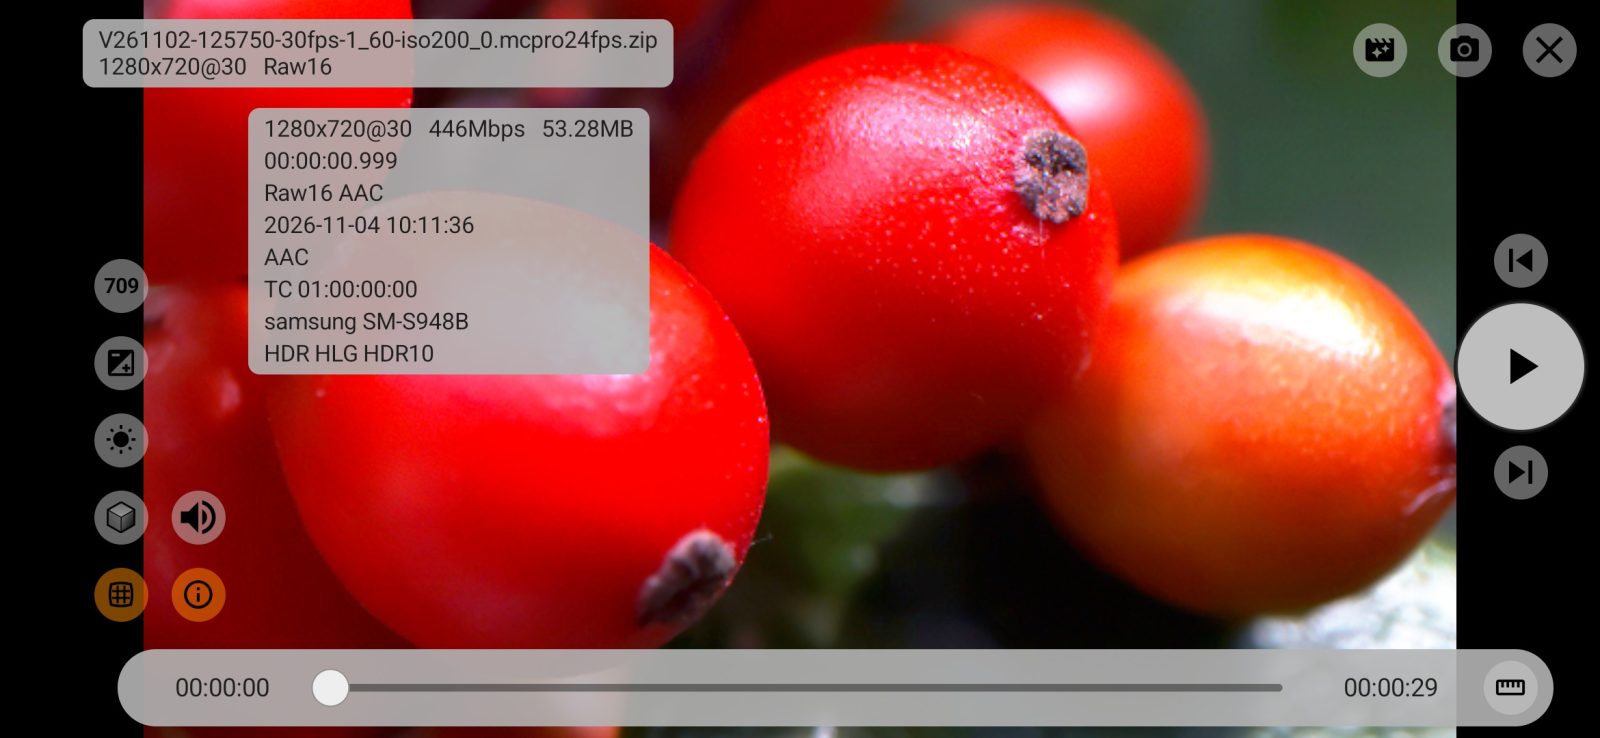
19Statistics
Opens a summary of the recording, like the card in the media manager: frame size and rate, data rate and file size, duration, RAW type and compression, sound, start timecode, the number of dropped frames (if any), the camera, and which HDR formats the screen supports. Tap the button again, tap the picture or press Back to close it.
Buttons on the right
10Previous frame
Steps one frame back. The button appears only while paused.
11Play
Starts and pauses playback. At the end of the recording, playback stops on the last frame.
12Next frame
Steps one frame forward. The button appears only while paused.
Bottom
13Timeline
Current time on the left, duration on the right. Tap the time to switch to the frame's timecode and the frame number out of the total; tap again to go back to time.
Drag the bar or tap where you want to go. Playback pauses while you drag and resumes afterwards.
114Seek mode: bar or frame wheel
The ruler button next to the timeline opens a frame wheel above it: one tick is one frame, labeled long ticks are seconds. Turn the wheel with your finger; a flick keeps it spinning and it stops exactly on a frame. While the wheel is open and playback is paused, the player keeps frames on both sides of the current one in memory, so scrubbing has no lag. The player remembers which seek mode you chose.