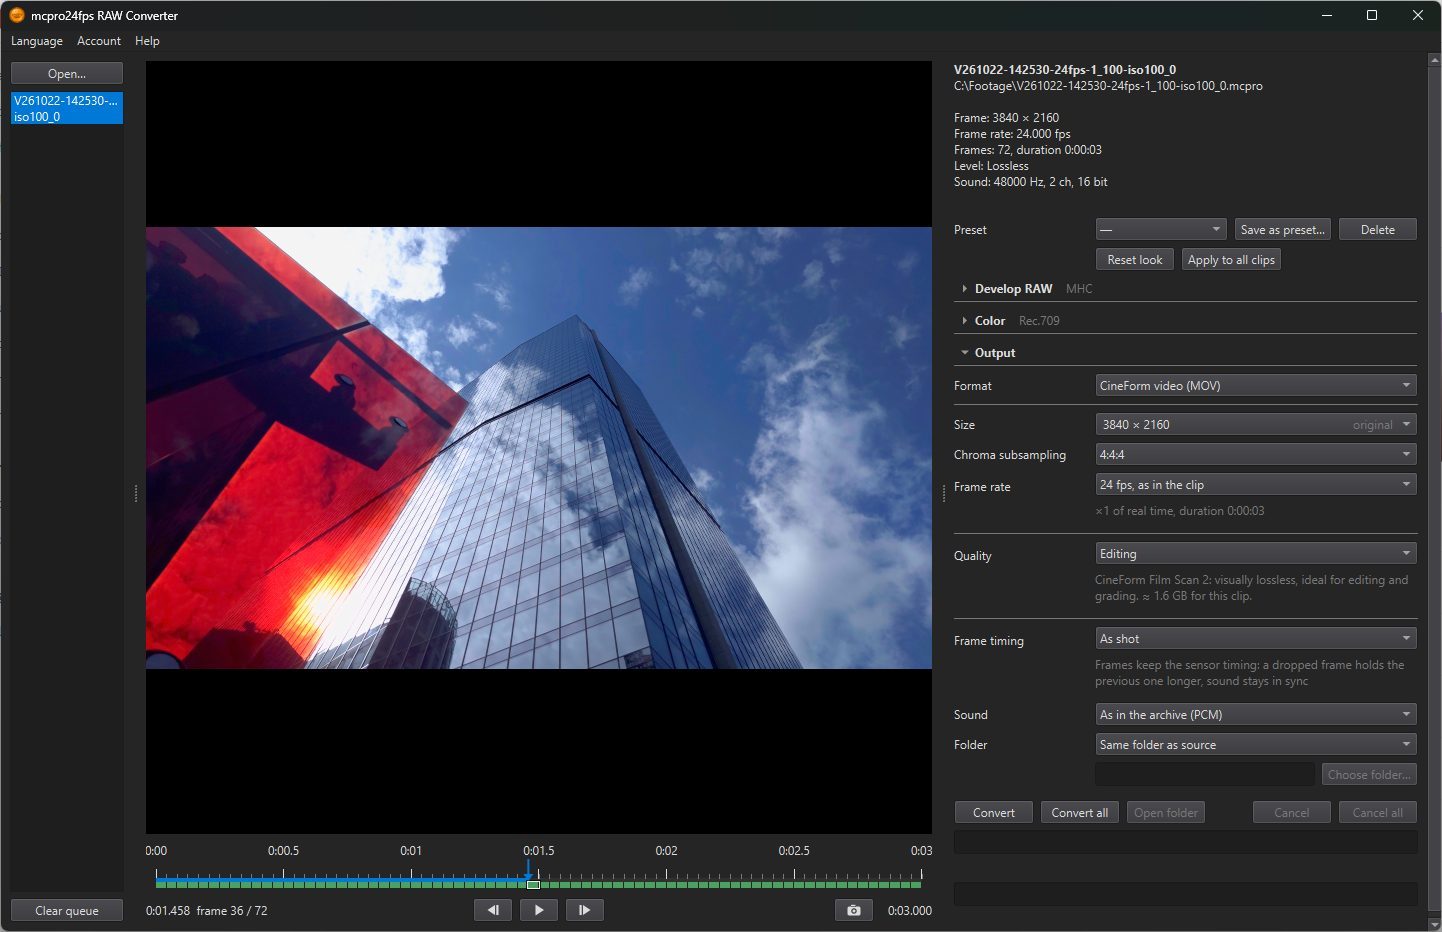
The preview shows the selected clip with its current look, the same picture that is written to the converted file. Any change in the settings shows up at once.
1The frame status bar
Under the time bar is a thin strip with a cell for every part of the clip. While the clip is open, the program checks it in the background and colors the cells: Frame status: green is OK, orange is damaged, red is dropped, grey is not checked.
- Red: the phone did not record a frame here (Dropped frame, or Dropped frames: … for several in a row).
- Orange: a frame is damaged. The tooltip says how many of its pieces cannot be read: Damaged frame … (… of … slices).
Hover over a cell to see what it means. Dropped and damaged frames do not stop the conversion. What the file does with them is set in Frame timing.
2Playback
- ▶ / ❚❚: Play (Space), Pause (Space). The clip plays with its sound.
- ‹ and ›: Previous frame (←), Next frame (→).
- The time bar: drag it to any point in the clip. Next to it are the time and the frame number.
Playback follows the output Frame rate. If a clip shot at 120 fps is set to 30 fps in the output, the preview plays it four times slower, just as the file will.
3Save frame as DNG
The camera button saves the frame on screen as a DNG file: the raw frame as it was recorded, without the look. The file goes to the output Folder, and the program shows Frame saved: … with its path. The button appears once you sign in with RAW Bundle.
When there is no preview
The preview needs a graphics card with OpenGL 4.3. On a computer without it, the program says Preview is not available on this computer: …. Conversion runs on the processor (slower). You can still change the settings and convert.
For the HDR preview, see Profile.